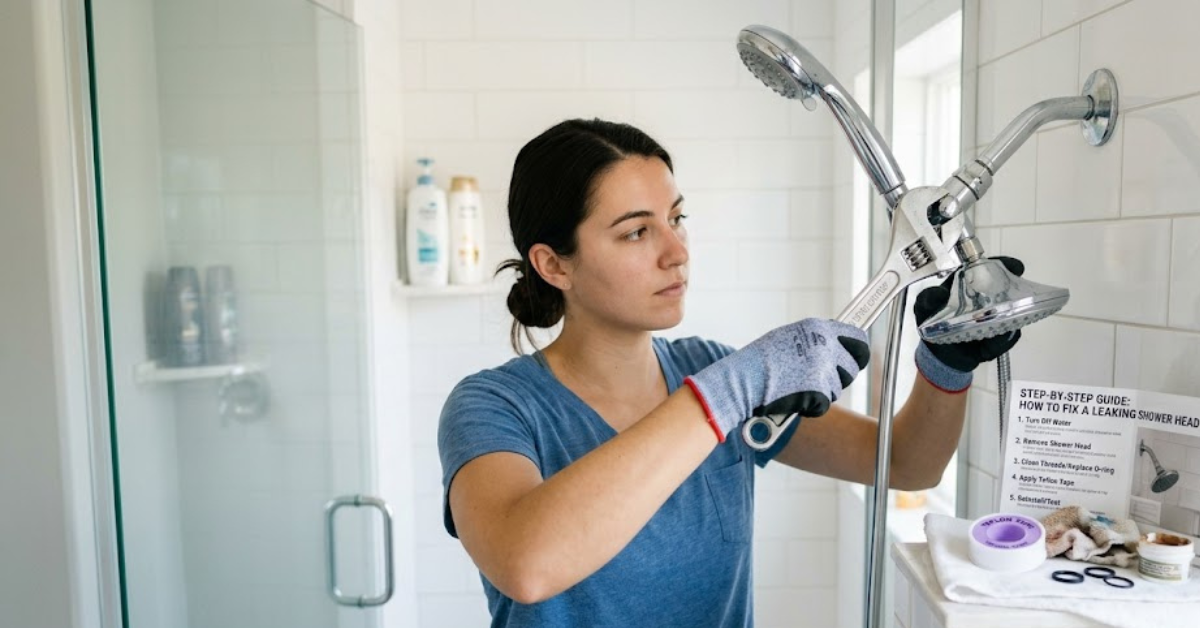
That constant drip… drip… drip from your bathroom isn’t just annoying—it’s quietly wasting water and increasing your bills. If you’ve been searching for how to fix leaking shower head, you’re in the right place. The good news? Most shower head leaks are surprisingly easy to fix without calling a plumber.
In this guide, you’ll learn practical, step-by-step solutions to stop leaks at the source—whether it’s the connection, pipe, or even when the water is off.
Why Is Your Shower Head Leaking?
Before jumping into fixes, it helps to understand the cause. A leaking shower head usually happens due to:
- Worn-out washers or O-rings
- Loose connections
- Mineral buildup (common in hard water areas)
- Faulty shower valve
- Cracked hose or pipe
Identifying the cause makes the fix much quicker and more effective.
Tools You’ll Need
Keep things simple—most fixes only require basic tools:
- Adjustable wrench
- Teflon (plumber’s) tape
- Screwdriver
- Vinegar (for cleaning mineral buildup)
- Replacement washers or O-rings
How to Fix Leaking Shower Head Step by Step
1. Turn Off the Water Supply
Even if you’re figuring out how to fix leaking shower head when water is off, always ensure the water supply is fully shut. This prevents accidental sprays and keeps things safe.
2. Remove the Shower Head
Unscrew the shower head from the pipe (shower arm). If it’s tight, wrap a cloth around it and use a wrench to avoid scratches.
3. Inspect and Clean
Check inside the shower head and connection:
- Look for dirt or mineral buildup
- Soak parts in vinegar for 30–60 minutes
- Scrub gently with a brush
This alone often fixes minor leaks.
4. Replace Washers or O-Rings
A worn washer is one of the most common reasons behind leaks.
- Remove the old washer
- Replace it with a new one of the same size
- Ensure it sits properly
This step is key when learning how to fix leaking shower head connection issues.
5. Apply Plumber’s Tape
Wrap Teflon tape around the threads of the shower arm (clockwise direction).
- Use 2–3 layers
- This creates a watertight seal
- Prevents future leaks
6. Reattach and Tighten
Screw the shower head back on and tighten it firmly—but don’t overdo it.
Turn the water back on and check for leaks.
Fixing Specific Leak Problems
How to Fix Leaking Shower Head Pipe
If water is leaking where the pipe meets the wall:
- Remove the shower arm
- Apply fresh plumber’s tape
- Reinstall tightly
If the pipe itself is cracked, replacement is the best option.
How to Fix Leaking Shower Head Hose
For handheld showers:
- Check both ends of the hose
- Tighten connections
- Replace rubber washers
If the hose is damaged, replacing it is usually cheaper than repairing.
How to Fix Leaking Shower Head Connection
Leaks at the connection point are typically due to:
- Loose fittings
- Worn seals
Solution:
- Tighten the joint
- Replace washers
- Add Teflon tape
How to Fix Leaking Shower Head When Water Is Off
If your shower head drips even after turning off water:
- The issue is likely the shower valve
- Mineral buildup may prevent proper sealing
- You may need to replace the valve cartridge
This fix can be slightly advanced, but still manageable with guidance.
How to Fix Leaking Shower Head Australia (Regional Tip)
In places with hard water (common in many regions of Australia), mineral buildup is a major cause of leaks.
- Clean shower heads regularly with vinegar
- Install a water softener if buildup is frequent
Preventing Future Leaks
Once fixed, keep your shower leak-free with these tips:
- Clean your shower head monthly
- Avoid over-tightening fittings
- Replace washers every 6–12 months
- Use plumber’s tape whenever reinstalling
FAQs
1. Why does my shower head drip after I turn it off?
This usually indicates a faulty valve or cartridge inside the faucet, not the shower head itself.
2. Can I fix a leaking shower head without tools?
In some cases, yes—tightening by hand may help. But for proper repair, basic tools are recommended.
3. How long does it take to fix a leaking shower head?
Most fixes take 15–30 minutes, depending on the issue.
4. Do I need to replace the entire shower head?
Not always. Simple fixes like replacing washers or cleaning buildup often solve the problem.
5. Is a leaking shower head expensive to fix?
No. Most repairs cost very little—usually just the price of washers or tape.
Conclusion
Learning how to fix leaking shower head issues can save you time, money, and frustration. Whether it’s a loose connection, worn washer, or mineral buildup, most problems have quick DIY solutions.
Start with the basics—cleaning, tightening, and sealing—and move to replacements only if needed. With the step-by-step approach outlined here, you can confidently handle leaks and keep your shower running smoothly.
If the problem persists, it might be time to explore deeper plumbing fixes—but in most cases, you’ve got everything you need to solve it yourself.