
Slime has become one of the most popular DIY projects for kids, parents, teachers, and craft enthusiasts. It’s fun to make, inexpensive, and offers endless opportunities for creativity. Whether you want a fluffy texture, a glossy finish, or a simple recipe using ingredients already in your kitchen, homemade slime can be customized in countless ways.
In this guide, you’ll learn how to make slime using several different methods, including glue-based recipes, no-borax alternatives, and troubleshooting tips to help you achieve the perfect consistency every time.
Why Homemade Slime Is So Popular
Making slime combines creativity with a simple science experiment. The process allows children to learn about textures, measurements, and chemical reactions while having fun.
Some benefits include:
- Encourages hands-on learning
- Promotes creativity
- Provides sensory play
- Requires inexpensive ingredients
- Can be customized with colors and add-ins
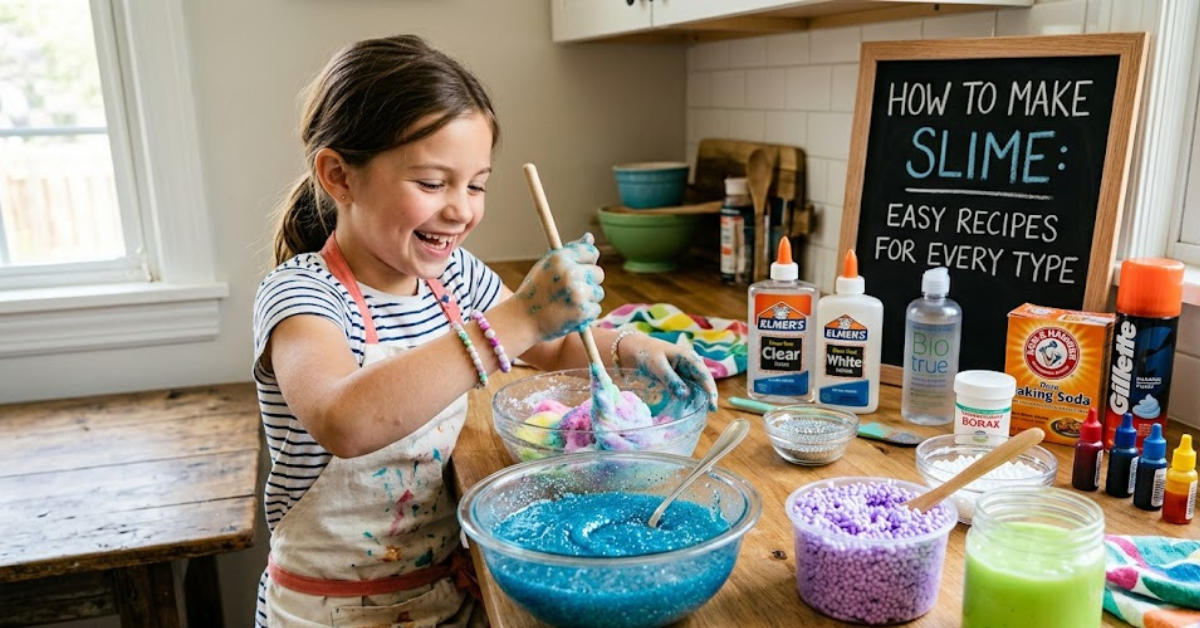
Basic Ingredients You’ll Need
Most recipes use a combination of:
- White school glue
- Clear glue
- Baking soda
- Contact lens solution
- Water
- Shaving cream
- Food coloring
- Borax solution (optional)
The exact ingredients depend on the type of slime you’d like to create.
Classic Glue-Based Recipe
This is the easiest method for beginners and produces a smooth, stretchy texture.
Ingredients
- 1 cup white school glue
- 1 tablespoon baking soda
- 1–2 tablespoons contact lens solution
- Food coloring (optional)
Instructions
- Pour the glue into a bowl.
- Add food coloring and stir.
- Mix in the baking soda.
- Slowly add the contact solution while stirring.
- Continue mixing until the mixture pulls away from the sides.
- Knead with your hands for several minutes.
The result is a stretchy, satisfying slime that’s perfect for everyday play.
Fluffy Slime Recipe
If you enjoy a softer texture, fluffy slime is an excellent choice.
Ingredients
- 1 cup white glue
- 3 cups shaving cream
- 1 tablespoon baking soda
- Contact solution
Directions
- Combine glue and shaving cream in a large bowl.
- Mix thoroughly until fluffy.
- Add baking soda.
- Slowly add contact solution.
- Knead until smooth.
This version feels light, airy, and extra fun to squeeze.
Borax Method
Borax creates durable, stretchy slime that holds its shape well.
Ingredients
- 1 cup glue
- 1 cup water
- 1 teaspoon Borax
- 1 cup warm water
Steps
- Mix glue and water in one bowl.
- Dissolve Borax in warm water separately.
- Gradually combine the mixtures.
- Stir until the texture forms.
- Remove excess liquid and knead.
Adult supervision is recommended when using Borax.
Borax-Free Alternative
Many families prefer recipes that don’t use Borax.
A simple substitute combines:
- White glue
- Baking soda
- Contact lens solution
The contact solution acts as the activating agent while producing a similar texture.
No-Glue Options
Don’t have glue available? There are still alternatives worth trying.
Shampoo and Cornstarch Recipe
Ingredients:
- 2 tablespoons shampoo
- Cornstarch
Mix the ingredients gradually until a soft, moldable consistency develops. While it won’t feel exactly like traditional slime, it still provides a fun sensory experience.
Shampoo and Sugar Method
Another option involves combining shampoo with small amounts of sugar. After mixing, chill the mixture briefly to help it thicken.
Making Your Own Activator
A slime activator helps transform liquid ingredients into a stretchy substance.
Common activators include:
- Contact lens solution containing boric acid
- Liquid starch
- Borax solution
To prepare a Borax solution:
- Mix 1 teaspoon Borax with 1 cup warm water.
- Stir until dissolved.
- Add gradually to your mixture.
Tips for Better Stretchiness
Nothing is more disappointing than slime that tears apart.
To improve elasticity:
- Knead longer
- Add a few drops of warm water
- Avoid overactivating
- Store properly between uses
Small adjustments often make a dramatic difference.
Fixing Sticky Slime
If your creation sticks to your hands, don’t panic.
Try these solutions:
- Add a tiny amount of activator
- Continue kneading
- Allow the mixture to rest for a few minutes
Avoid adding large amounts of activator at once, as this can make the texture rubbery.
Common Mistakes to Avoid
Many beginners encounter the same issues.
Watch out for:
- Incorrect measurements
- Too much activator
- Insufficient mixing
- Poor storage habits
- Using expired ingredients
Following instructions carefully helps produce more consistent results.
Storage Tips
Proper storage keeps slime fresh for longer.
Best practices include:
- Store in airtight containers
- Keep away from direct sunlight
- Wash hands before use
- Avoid mixing dirt or debris into the slime
Most homemade batches last several weeks when stored correctly.
Frequently Asked Questions
What is the easiest recipe for beginners?
A combination of glue, baking soda, and contact solution is usually the simplest and most reliable option.
Can I make slime without Borax?
Yes. Contact lens solution and baking soda can be used as effective alternatives.
Why is my slime too sticky?
It likely needs additional kneading or a small amount of activator.
Why does slime become hard?
Overactivation is the most common cause. Adding a few drops of water may help soften it.
How long does homemade slime last?
When stored in a sealed container, it can remain usable for several weeks.
Is slime safe for children?
Most recipes are safe when used properly and under adult supervision. Always follow ingredient instructions carefully.
Conclusion
Learning how to make slime is a fun activity that combines creativity, science, and hands-on entertainment. From classic glue recipes to simple household alternatives, there are plenty of ways to experiment with different textures and styles. Start with a basic recipe, make adjustments as needed, and don’t be afraid to get creative with colors, glitter, or other add-ins. With a little practice, you’ll be able to create the perfect batch every time.